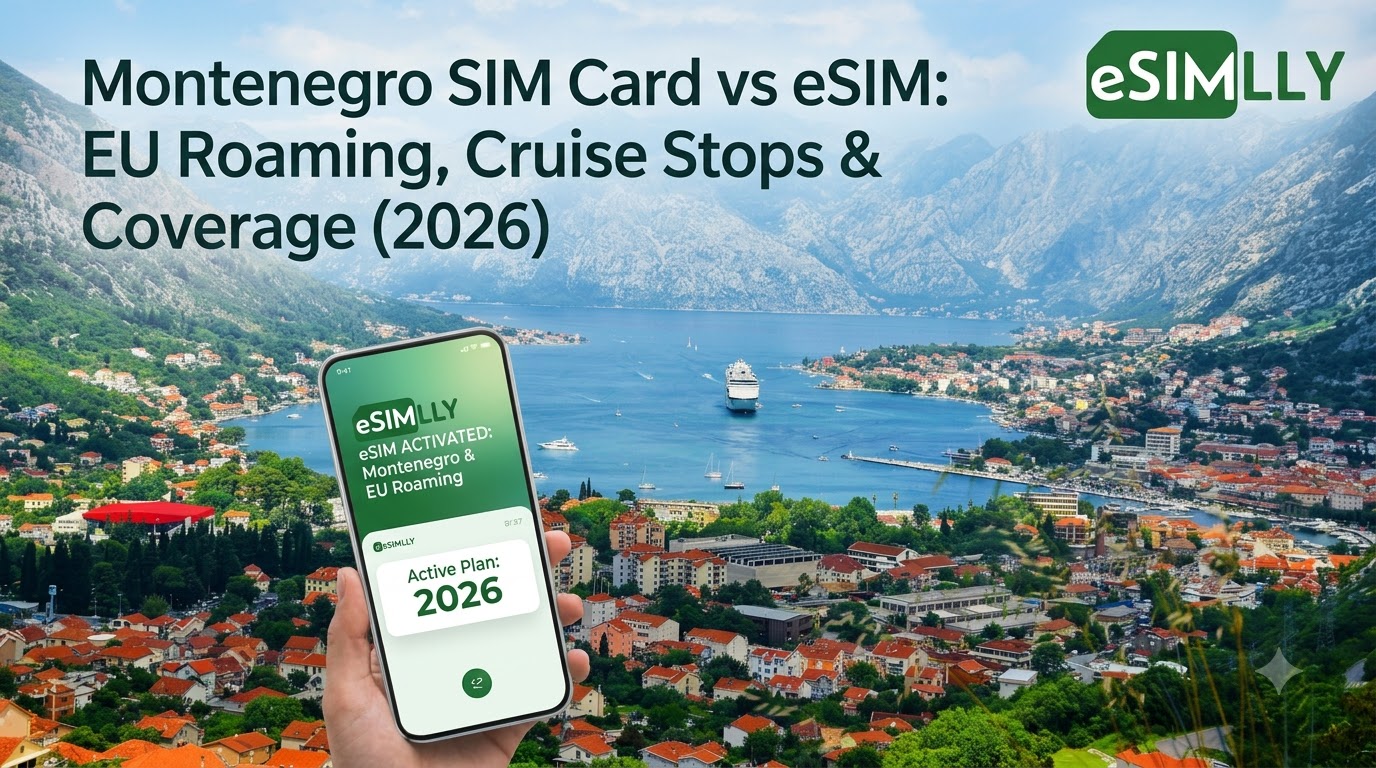
Montenegro SIM Card vs eSIM: EU Roaming, Cruise Stops & Coverage (2026)
Montenegro isn't in EU Roam Like at Home. Compare tourist SIMs and eSIMs for Kotor, Budva and Durmitor, including cruise day stops. Plans from $2.
ReadAuthor
Angelus Sharma
Published
August 13, 2026
Installing an eSIM sounds complicated until you actually do it.
There is no tiny plastic card to remove. No SIM tray tool to lose five minutes before boarding a flight. No airport shop, no queue, and no awkward conversation about which prepaid plan you need.
Instead, you download a digital SIM profile directly to your compatible smartphone and activate it.
For international travelers, that can make getting connected much easier.
But there is one problem: the installation process isn't identical on every phone.
An iPhone uses a slightly different menu from a Samsung Galaxy. Google Pixel has its own settings. Other Android smartphones may use different names for the same options.
That is why having a clear eSIM installation guide can make the process much easier.
The eSIMLLY eSIM Installation Guide provides device-specific, step-by-step instructions for iPhone, Samsung, Google Pixel and other Android devices. You can select your device and destination and generate instructions that you can download or print for offline use.
Before installing an eSIM, however, make sure your phone actually supports eSIM technology.
You can check whether your phone is eSIM compatible here. Once your device is confirmed, you can explore eSIMLLY travel eSIM plans, with coverage across 160+ countries.
An eSIM is an embedded SIM built directly into a compatible device.
A traditional SIM card is a small piece of removable hardware. You physically insert it into your phone.
An eSIM works digitally.
Instead of inserting a card, you download a mobile network profile to your phone. The profile contains the information required for the device to connect to the relevant mobile network.
For travelers, this creates a much simpler way to get mobile data abroad.
You can purchase a travel eSIM before leaving home, install it on your phone and activate it when you reach your destination.
No physical SIM card is required.
No SIM tray gymnastics.
And, on compatible devices, you can often keep your existing SIM while using the eSIM for travel data.
International travelers have traditionally had three choices:
Use international roaming.
Buy a physical local SIM.
Use a travel eSIM.
Roaming is convenient, but it can become expensive.
A physical SIM can be cheaper, but it requires finding a retailer and physically replacing your SIM.
An eSIM combines much of the convenience of roaming with the flexibility of a separate travel data plan.
With eSIMLLY, travelers can choose from eSIM plans covering 160+ countries and prepare their connectivity before they leave.
That means you can land at your destination with your mobile data plan ready instead of starting your trip by searching for a SIM shop.
The first step in any successful eSIM installation is making sure your device supports eSIM.
Not every phone does.
And even when a phone model supports eSIM, regional versions can sometimes have different specifications.
Before purchasing or installing an eSIM, check:
Your exact phone model
Your device's eSIM support
Whether the phone is carrier unlocked
Whether your destination is covered by your chosen plan
Whether your device has enough available space for another eSIM profile
The easiest way to check your device is the eSIMLLY eSIM Compatibility Checker.
Enter your phone model and check whether it supports eSIM before purchasing a plan.
Once your phone passes the check, visit eSIMLLY's travel eSIM plans to find a plan for your destination. With coverage across 160+ countries, you can choose from a wide range of international destinations.
The good news is that you don't need much.
Usually, you need:
Your smartphone must support eSIM technology.
If your phone is locked to a carrier, you may not be able to use an eSIM from another provider.
You need to purchase a compatible eSIM plan for your destination.
Wi-Fi is recommended when installing an eSIM, particularly if you're installing it before departure.
Depending on the provider and device, you may receive:
A QR code
An activation code
SM-DP+ address
Confirmation instructions
The exact installation process depends on your device.
The eSIMLLY Installation Guide lets you select your device and destination and provides step-by-step instructions, including QR-code scanning and manual SM-DP+ entry where required.
Installing an eSIM on an iPhone is generally straightforward.
The exact wording can vary slightly depending on your iOS version, but the overall process follows the same pattern.
Before beginning, connect your iPhone to a reliable Wi-Fi network.
This ensures your device can download the eSIM profile without relying on mobile data.
Go to:
Settings → Mobile Service / Cellular
Look for an option such as:
Add eSIM
or
Add Cellular Plan
If your provider gives you an eSIM QR code, select the option to use a QR code and scan it with your iPhone camera.
Follow the instructions displayed on the screen.
Your iPhone may ask you to label the new cellular plan.
You can call it something like:
Travel
Japan
Europe
or
Holiday Data
Choosing a clear label helps if you have multiple SIM profiles installed.
Your iPhone may ask which line you want to use for:
Calls
Messages
Mobile data
If you're using the eSIM primarily for travel data, select the travel eSIM for mobile data.
You can usually keep your primary SIM active for calls and messages if your device and carrier support the configuration.
Follow the remaining prompts to complete setup.
Your eSIM may not connect immediately if you are still outside the destination country.
That isn't necessarily a problem.
The plan may be configured and waiting for the supported network to become available.
For a device-specific walkthrough, use the eSIMLLY eSIM Installation Guide before you travel.
Samsung Galaxy devices use a different menu structure from iPhones.
Again, the exact wording can vary by model and software version.
Connect your Samsung phone to Wi-Fi.
Go to:
Settings → Connections → SIM Manager
Look for:
Add eSIM
or a similar option.
Select the option to scan a QR code and scan the activation code provided with your eSIM.
Samsung will download the eSIM profile and add it to your device.
Once installed, you can select which SIM should be used for:
Calls
Messages
Mobile data
If your travel eSIM is data-only, select it as your mobile data SIM.
When you arrive at your destination, turn on the travel eSIM and configure mobile data according to the plan instructions.
If your phone doesn't connect automatically, you may need to enable Data Roaming for the travel eSIM. This sounds alarming, but with a travel eSIM it can be a normal part of the connection process because the eSIM may connect through a partner network.
Always follow the activation instructions supplied with your specific plan.
Google Pixel devices also support eSIM on many models.
The menu names can vary depending on the Android version and Pixel model, but the process generally follows these steps.
Connect your Pixel to a reliable Wi-Fi network.
Go to:
Settings → Network & internet
Select the option to add a SIM.
Your phone may display an option such as:
Download a new SIM
Use the QR code supplied with your eSIM plan.
Follow the on-screen instructions to download the eSIM profile.
After installation, choose the eSIM as your preferred mobile data connection if you want to use it for travel.
Once you arrive at your destination, check whether the phone connects to a supported network.
If necessary, enable data roaming for the travel eSIM and make sure mobile data is switched on.
Android is a broad ecosystem.
Motorola, Xiaomi, Oppo, Huawei, Sony and other manufacturers can use different menus and terminology.
The general process is usually:
Settings → Mobile Network / SIM → Add eSIM → Scan QR Code
However, don't assume your phone uses exactly those names.
Your device may instead use:
SIM Manager
Mobile Network
Cellular Network
SIMs
Network & Internet
Add Mobile Plan
Download SIM
That's why a device-specific guide is useful.
The eSIMLLY Installation Guide allows you to select your device and destination to get a printable, step-by-step setup guide.
Most travelers will install their eSIM using a QR code.
It's the simplest method.
You scan the QR code provided by your eSIM provider.
Your phone reads the activation information and downloads the eSIM profile.
This method is quick and convenient.
Some devices or situations may require manual entry.
You may be asked to enter information such as:
SM-DP+ Address
and an:
Activation Code
The exact details depend on your eSIM provider.
Manual installation can be useful if:
Your camera cannot scan the QR code
You're installing the eSIM on a device displaying the activation details elsewhere
You received manual activation information
Your device doesn't support the standard QR workflow
The eSIMLLY installation instructions cover both QR-code scanning and manual SM-DP+ information where applicable.
This is one of the most important questions for travelers.
In many cases, you can install your eSIM before leaving home.
That is often the easiest approach.
You can complete the installation while connected to your home Wi-Fi and then activate the plan when you arrive.
However, installation and activation are not necessarily the same thing.
Installation means downloading the eSIM profile onto your phone.
Activation means connecting the eSIM to the mobile service according to the plan's activation rules.
Some plans activate when they connect to a supported network.
Others may begin their validity period immediately after installation or activation.
Always check the specific plan instructions.
If you're unsure, the eSIMLLY eSIM Installation Guide provides the setup process and troubleshooting guidance.
For most travelers, installing the eSIM before departure is convenient.
Why?
Because you have:
Reliable Wi-Fi
Time to troubleshoot
Access to your regular mobile connection
No airport pressure
No need to find a Wi-Fi hotspot after landing
Imagine arriving at an airport at 2 a.m., exhausted, with no mobile data and a hotel address buried somewhere in your email.
That's when you discover your phone settings have apparently been designed by a committee.
Installing your eSIM before departure avoids much of that drama.
Just make sure you understand when the plan starts its validity period before activating it.
Installing the profile is only part of the process.
Once you reach your destination, you may need to activate the travel eSIM as your mobile data line.
The general process is:
Open your phone's SIM or mobile network settings.
Select your travel eSIM.
Turn the line on.
Select the eSIM for mobile data.
Enable data roaming if your plan requires it.
Wait for the phone to connect to a supported network.
Test your internet connection.
The exact settings depend on your phone and plan.
Some eSIMs connect automatically once you arrive in the covered country.
Others may require you to select a network manually.
Most eSIM installations are straightforward, but problems can happen.
Here are some of the most common issues.
If the QR code isn't scanning:
Increase screen brightness
Clean your camera lens
Make sure the entire QR code is visible
Try a different device to display the QR code
Use manual installation if supported
If the QR code is displayed on the same phone you're trying to scan with, you may need to use the manual installation method or another screen to display the code.
First, check your internet connection.
A stable Wi-Fi connection is recommended.
Then check that:
Your device supports eSIM
Your phone is unlocked
The QR code is correct
The eSIM hasn't already been installed
Your phone has not reached its eSIM profile limit
If the eSIM installed successfully but you can't access the internet, check:
Is the eSIM turned on?
Is mobile data assigned to the eSIM?
Is data roaming enabled if required?
Are you in a covered destination?
Is the device connected to a supported network?
Do you need to select a network manually?
The eSIMLLY installation guide includes troubleshooting guidance for common activation problems.
Usually, no.
One of the major advantages of eSIM technology is that compatible phones can often store multiple SIM profiles.
You can keep your physical SIM installed while using your travel eSIM for data.
For example:
Physical SIM: Your regular number
eSIM: Travel data
This means you don't have to worry about losing your primary SIM while traveling.
However, make sure your phone's mobile data settings are configured correctly so that your primary SIM doesn't accidentally generate roaming charges.
Installing a travel eSIM doesn't automatically prevent your primary SIM from using mobile data.
You need to configure your phone correctly.
Before traveling, consider:
Setting your travel eSIM as the mobile data line
Turning off mobile data for your primary SIM
Disabling data roaming on your primary SIM
Keeping the travel eSIM enabled
Checking your carrier's roaming settings
The exact settings depend on your phone.
If you want to compare the potential cost of using your normal carrier abroad, you can also use the eSIMLLY Roaming Cost Calculator.
And if you haven't purchased your travel eSIM yet, explore eSIMLLY's plans, with coverage across 160+ countries.
Before boarding your flight, check the following:
Your phone supports eSIM
Your phone is unlocked
You have purchased the correct travel plan
You have received your activation details
You have a reliable Wi-Fi connection
Your eSIM has been installed
You know which SIM will handle mobile data
You understand when your plan activates
You know whether data roaming needs to be enabled
You have saved your installation instructions
You can use the eSIMLLY Installation Guide to generate instructions for your specific device and destination and keep them available offline.
Installation is only one part of the process.
Choosing the right plan matters too.
Consider these factors before buying.
Make sure your destination is included in the plan's coverage.
Estimate how much data you will need based on your usage.
Choose a plan that lasts for the entire trip.
Check which networks the eSIM uses at your destination.
Compare the total cost rather than simply choosing the largest data package.
eSIMLLY offers travel eSIM plans across 160+ countries, giving travelers a wide selection of destinations and data options.
For most compatible devices, scanning a QR code is the easiest method. Your phone downloads the eSIM profile and guides you through the remaining setup.
Yes, in many cases you can install your eSIM before departure. Whether the validity period begins immediately depends on the specific plan.
A reliable internet connection is recommended because your phone needs to download the eSIM profile.
Some eSIMs support manual installation using an SM-DP+ address and activation code.
Many compatible smartphones support dual-SIM functionality, allowing you to keep your physical SIM while using an eSIM.
Check that the eSIM is enabled, mobile data is assigned to it, data roaming is enabled if required, and you're in a covered destination.
Not necessarily. Some eSIM profiles can only be installed once or may require a new activation process. Avoid deleting an installed eSIM unless you are certain it can be reinstalled.
Generally, an eSIM profile is installed on a specific device. Whether it can be transferred depends on the provider and device.
The idea behind an eSIM is simple: get connected without a physical SIM card.
But a smooth experience starts with proper preparation.
First, check whether your phone supports eSIM. Then purchase a plan for your destination, install the eSIM using the instructions for your device and configure it as your travel data connection.
If you want a device-specific walkthrough, use the eSIMLLY eSIM Installation Guide. You can select your device and destination and get step-by-step instructions that can also be printed or downloaded for offline use.
If you haven't purchased an eSIM yet, check out eSIMLLY's travel eSIM plans, with coverage across 160+ countries.
And before buying, remember to verify that your device is compatible using the eSIM Compatibility Checker.
A few minutes of preparation can save you from trying to configure your phone while standing in an airport arrivals hall with 3% battery.
Follow the step-by-step eSIM Installation Guide →
Already have a compatible phone? Explore eSIMLLY travel eSIM plans covering 160+ countries →.
Check your device, choose your destination, install your eSIM and get connected.
Instant activation, hotspot included and no roaming fees in the destinations from this guide.
Montenegro isn't in EU Roam Like at Home. Compare tourist SIMs and eSIMs for Kotor, Budva and Durmitor, including cruise day stops. Plans from $2.
Read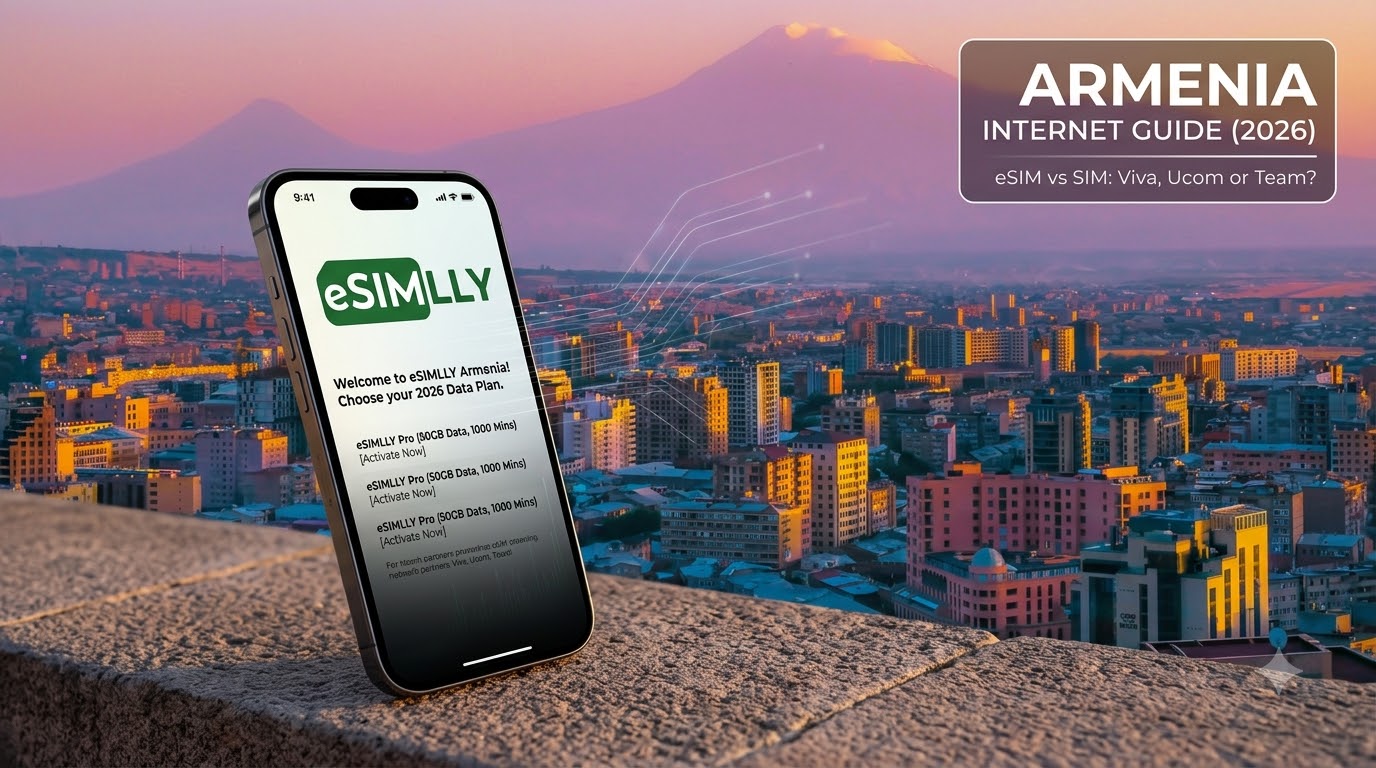
Zvartnots airport SIM or eSIM? Compare Armenia's operators, tourist bundle prices and when each option makes sense. eSIM plans from $2.50.
Read
Beeline, Kcell or Tele2? Why foreign phones on Kazakh SIMs need IMEI registration, and when a travel eSIM is easier. Plans from $1.50.
ReadGet instant data and savings on your next trip with eSIMLLY. Simple activation, no physical SIM card needed.